Create and manage organizations
Create an organization to collaborate with members of your team and share access to the software and services that Percona Platform provides.
Organizations are linked to Percona Accounts. Each Percona Account gives access to only one organization. This means that you cannot be member of multiple organizations or create more than one organization for a Percona Account.
To create an organization:
- Log in to Percona Platform using your Percona Account.
- Click the Organization tab on the main menu, then click Add Organization.
Existing Percona customers and Percona Accounts that are already associated with an organization will see an option to view their existing organization instead. - Enter a relevant name for your new organization, then click Save.
This creates the new organization and displays its general details like name and creation date.
Existing organizations for Percona customers
If you are an existing Percona customer, you do not need to create or join organizations manually. Percona Platform can do that for you automatically.
Your Customer Portal organization is automatically linked to Percona Platform the first time that an organization member logs into Percona Platform.
The user who creates the organization will be automatically assigned the Admin role in Percona Platform. Other organization members subsequently logging in to Percona Platform will be automatically added as members of the existing organization, and assigned the same roles that they currently have in Customer Portal.
Tip
To make sure you are logging in to the organization corresponding to the one in Percona Customer Account, make sure to sign in to Percona Platform using the same email address used for your Percona Customer Account.
Information about Support entitlements, tickets, and contacts is automatically made available on the Platform organization.
As an account administrator, finish setting up your Percona Platform organization by making sure all your organization members register for a Percona Account and log in to the Portal.
Check organization details
After creating or joining an organization, click the Organization tab on the left menu to open the Manage organization page.
Here you can manage your organization and check its details.
Roles and permissions
When you create an organization, you are automatically assigned the role of Admin for that organization.
You can add people to your organization as Admins or Technical users.
Here are the different permissions available for these roles:
| Permission | Admin user | Technical user |
|---|---|---|
| View users and organization |  |
 |
| Manage users and organization |  |
|
| Invite members |  |
|
| Change other user’s role |  |
|
| View Customer data (entitlements, Support contacts, tickets) |  |
 |
| Connect PMM server |  |
 |
| Raise Support tickets |  |
 |
Add organization members
Administrators can add any number of Technical users to the organization, and even add other Admins if necessary.
To add users to your organization:
- Log in to Percona Platform.
- Click Organization tab on the left side menu.
- On the Members tab, click the Invite Member button.
- Enter the email address of the user you want to invite, and select a role.
- Click Add another user if you want to invite more than one user. You can send up to ten invitations at a time. If you need to invite more users, send out the current invitations, then click Invite Members again. This reopens the invitation form where you can bulk-invite another ten users.
- Click Invite to send the invitations for joining your organization.
Following up on new user invitations
mail invitations expire after seven days. To send a new invitation, click the Resend Email option next to any pending confirmations in the table. This will send a new activation link to the user’s email address.
Edit roles
Currently, organization users cannot change their own role. However, Administrators can change the user role for all the other members in their organization.
To do so:
- Click the Organization tab on the left side menu.
- Open the Members tab.
- In the Actions column, click on the Edit icon next to the user whose role you want to change. This displays the Edit Member form.
- In the Role field, select the new role that you want to assign to the user and click Save.
Delete users
As an Administrator, you can remove any member from your organization apart from yourself.
After deleting users, you may want to also remove these users from your Customer Portal organization.
To delete a user from your Percona Platform organization:
- Click the Organization tab on the left side menu.
- Open the Members tab.
- In the Actions column, click on the Delete icon next to the user you want to remove from the organization.
- Confirm that you want to remove the user and click Delete.
Delete organizations
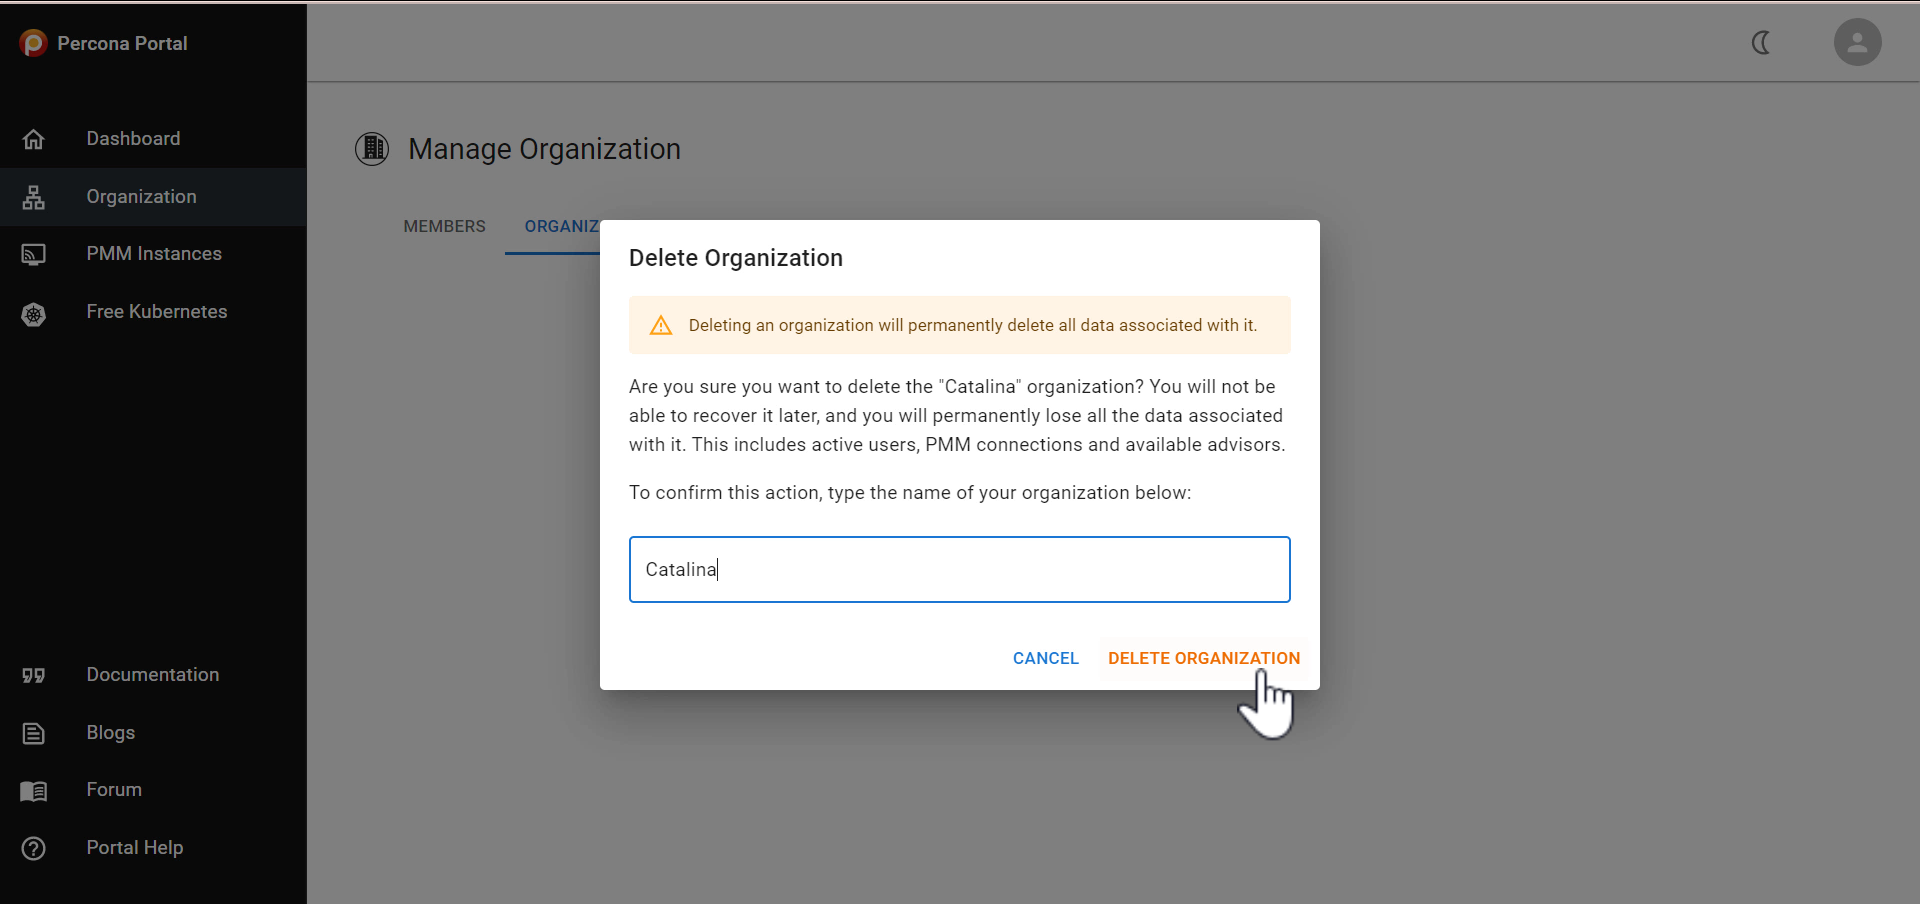
As an Admin user, you can delete your organization and all its data. Organization users can still use their accounts to access Percona Platform and join or create other organizations.
Tip
Deleted organizations and their data cannot be restored, so be careful when performing this action.
To delete an organization as an Admin, go to the Organization tab > Organization and click on the bin icon:

